“The key to brushing well with an electric toothbrush is to guide the brush head to all parts of your mouth.” – Oral-B
Your electric toothbrush is a powerful tool—but only when you use it correctly. Many people unknowingly scrub too hard, move too fast, or skip important surfaces, missing out on the full plaque removal power the brush was designed to deliver. This guide breaks down the exact technique, timing, and care habits that turn your brush into a true smile protector.

Why Your Brushing Technique Matters (Even With an Electric Brush)
An electric toothbrush does most of the movement for you—some models deliver over 60,000 brush strokes per minute. But that speed works against you if you treat the brush like a manual scrubber. Poor technique leads to missed plaque biofilm along the gumline and can even damage gum tissue. Dentists consistently emphasize that guiding the brush slowly and steadily is far more effective than applying pressure or sawing back and forth. In fact, many high-end brushes now include a pressure sensor that alerts you when you press too hard, helping prevent gum recession and enamel wear.
What You Need Before You Start
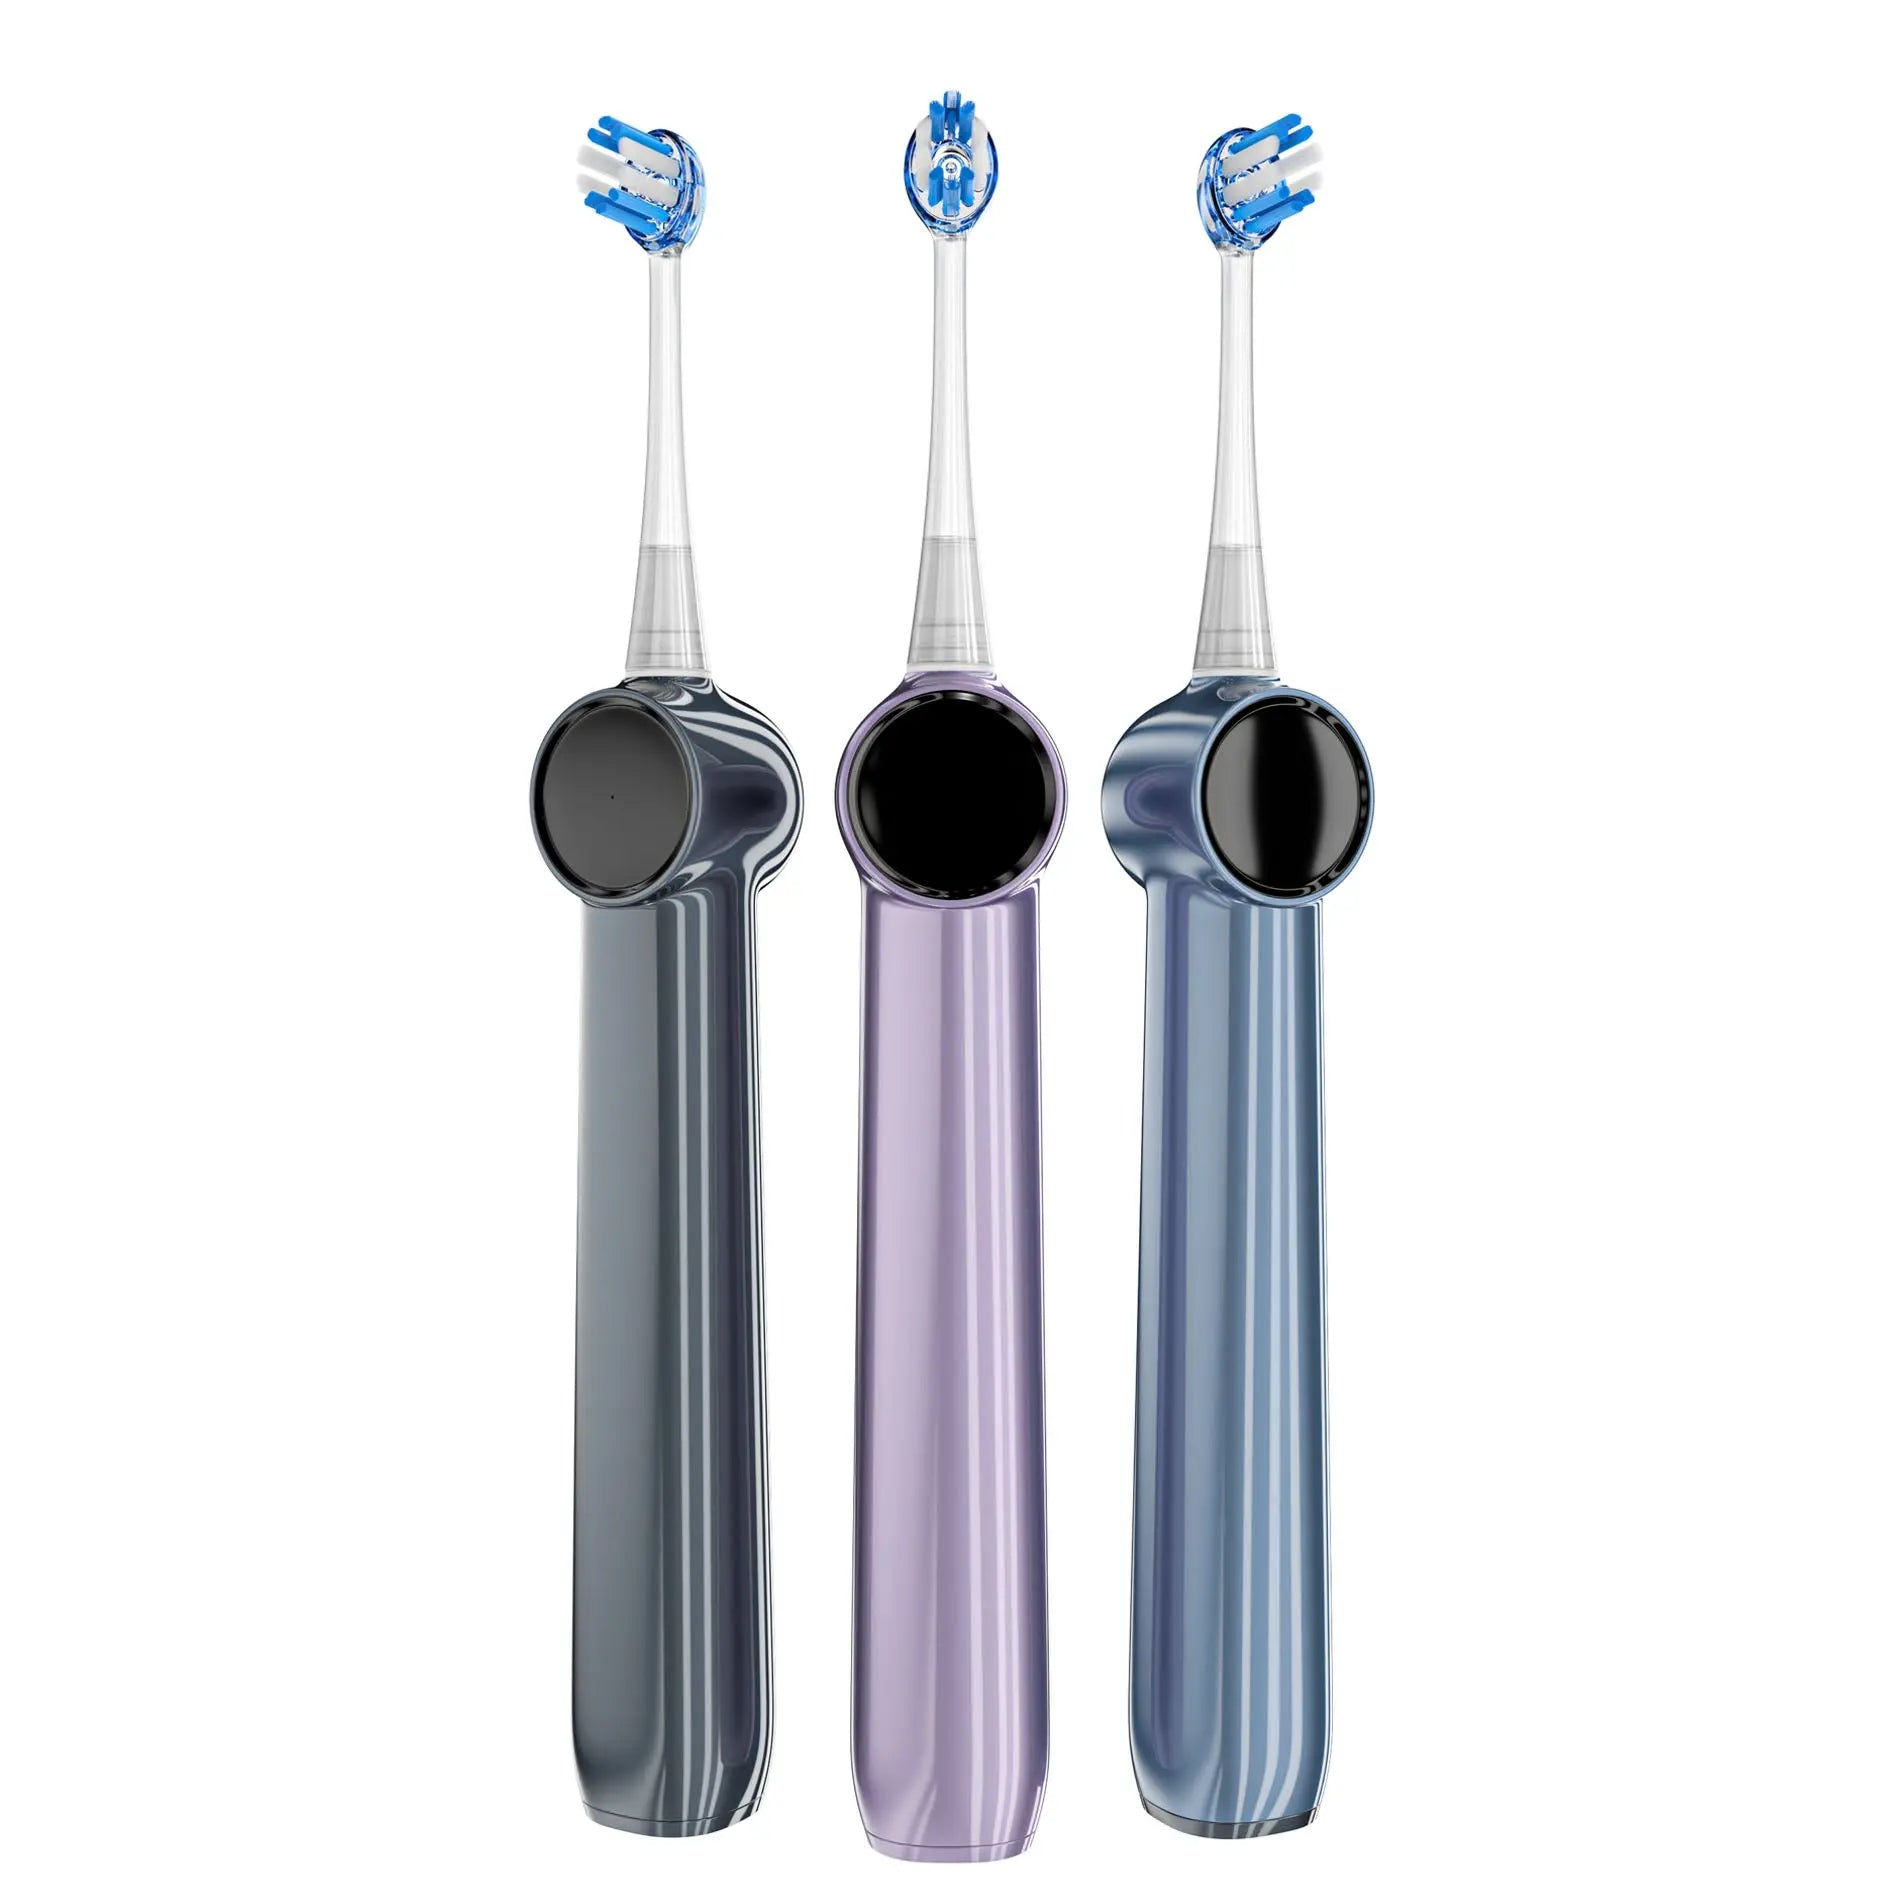
- Soft-bristled brush head: Extra-soft or soft bristles clean effectively without scratching enamel. Replace every 3 months—or sooner if bristles look frayed.
- Fully charged handle: Check the charge indicator light. A brush that’s losing power weakens the oscillating motion and timer accuracy.
- Fluoride toothpaste: Use a pea-sized amount. Too much foam may tempt you to spit early and shorten brushing time.
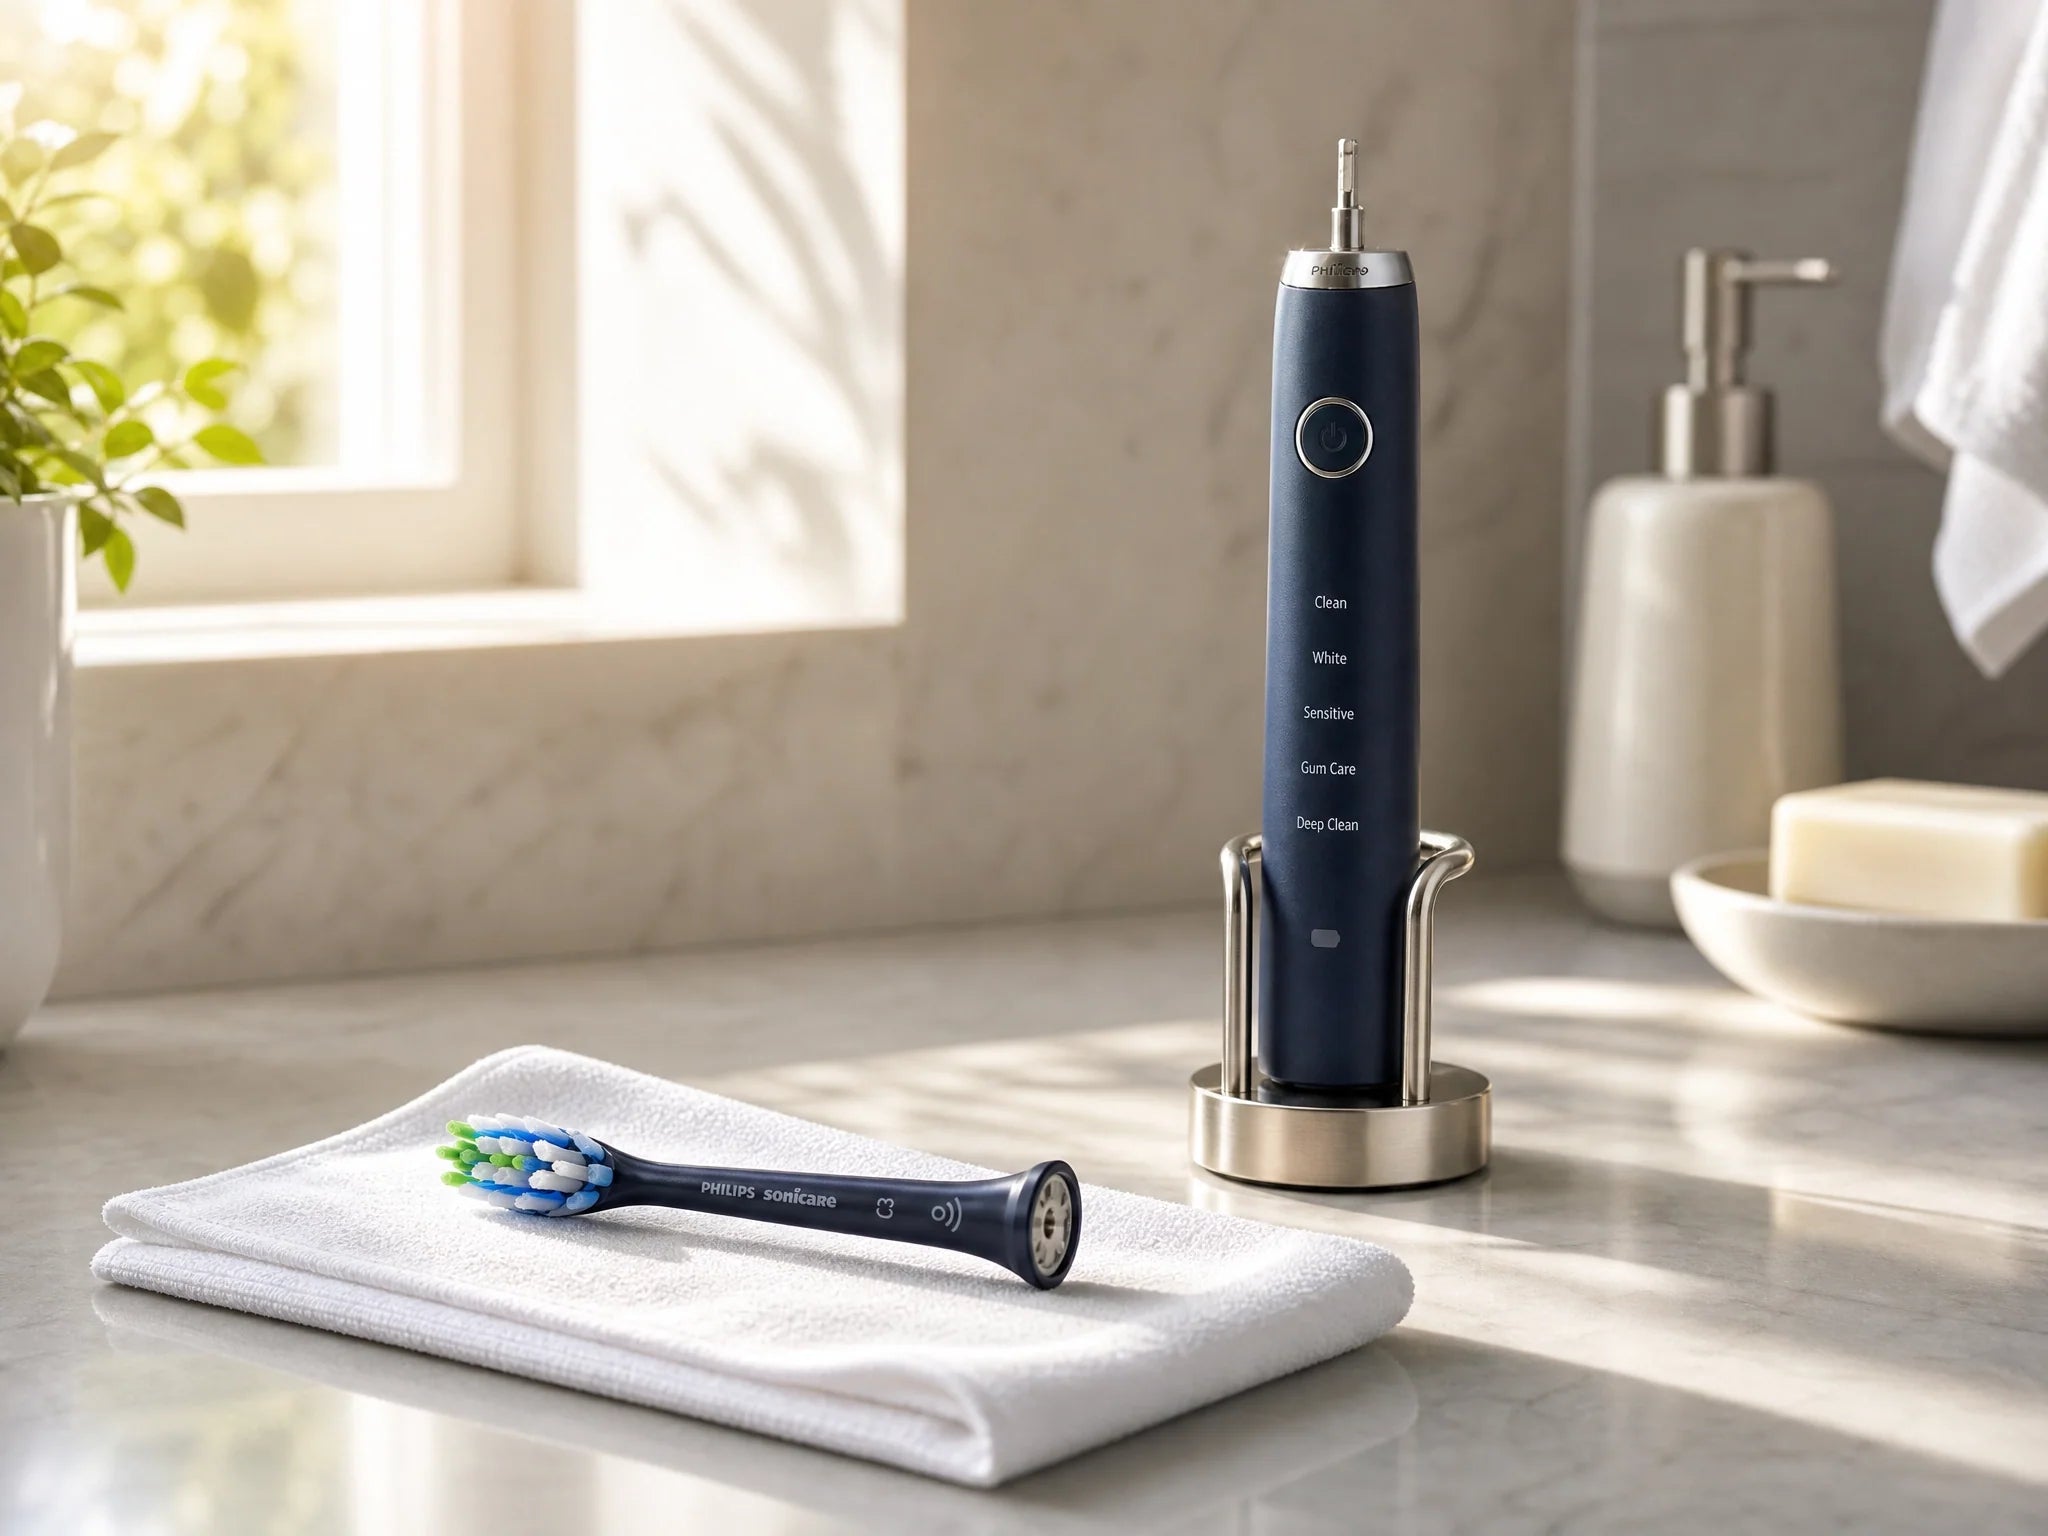
- Preferred brushing mode: If your brush offers multiple modes (sensitive, whitening, gum care), pick the one that matches your gum health and sensitivity today.
How to Brush with an Electric Toothbrush: The Definitive Step-by-Step Instructions
Step 1: Apply Toothpaste Without Turning the Brush On
Place a pea-sized dab of fluoride toothpaste on the wet brush head. Keep the brush turned off until it’s inside your mouth—this prevents toothpaste splatter and gives you full control over the first contact.
Step 2: Divide Your Mouth Into Four Quadrants
Mentally split your teeth into:
- Upper right
- Upper left
- Lower right
- Lower left
Spend 30 seconds on each quadrant. Most electric toothbrushes beep or pulse every 30 seconds to guide you, and automatically shut off after 2 minutes. This equal-time approach ensures no section gets ignored.
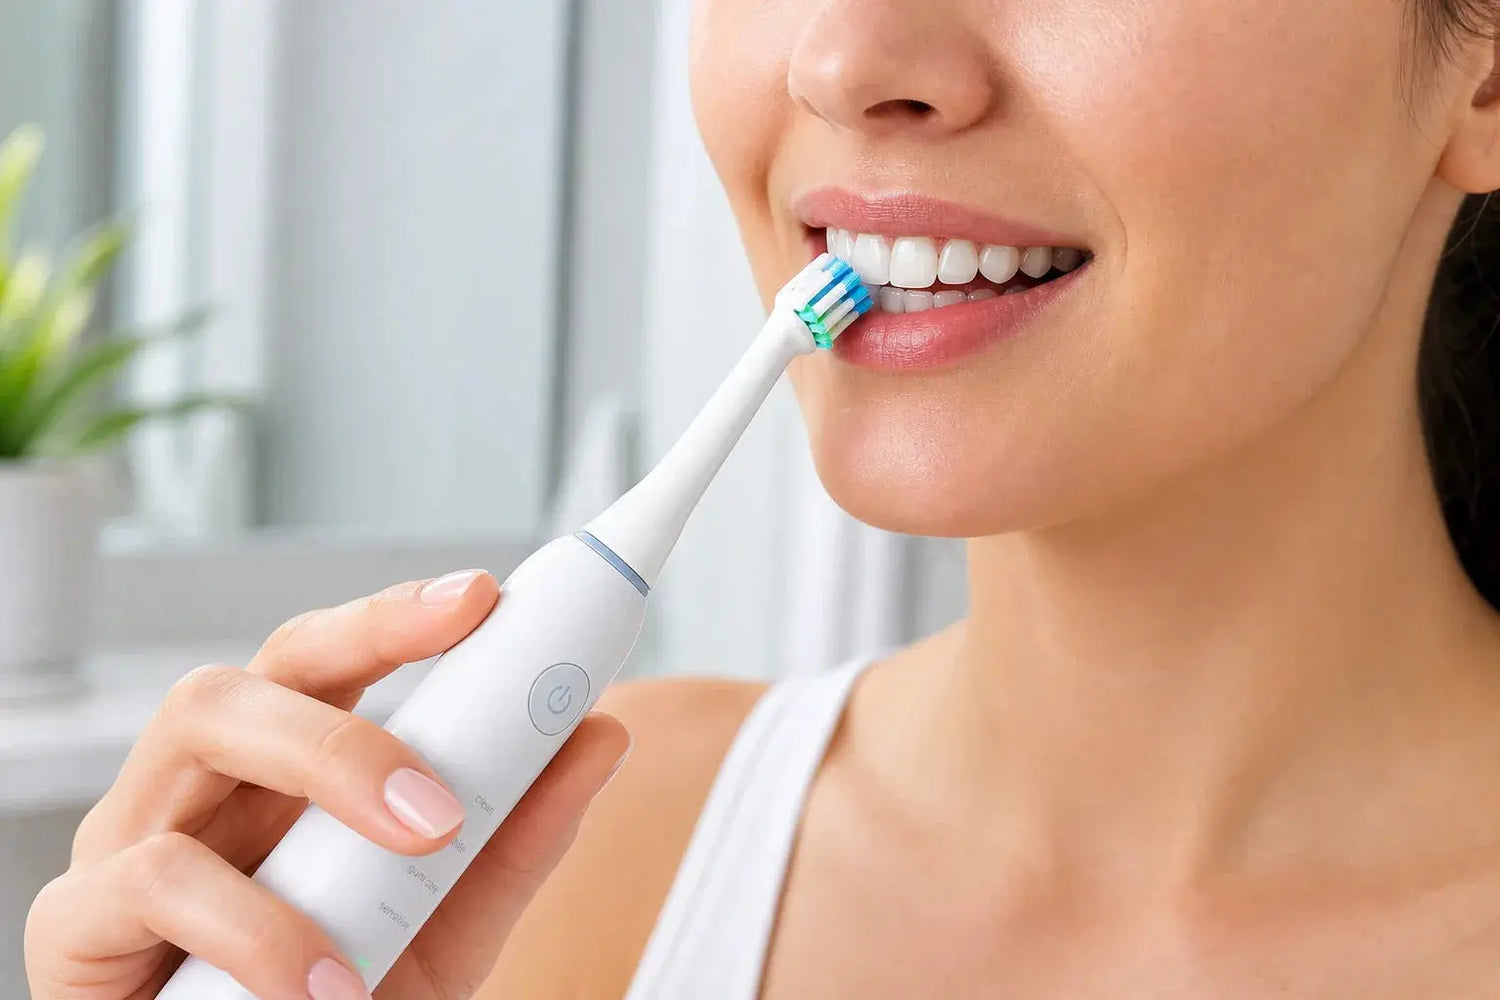
Step 3: Position the Brush at a 45-Degree Angle to the Gumline
Angle the bristles so they contact both the tooth surface and the gumline. This allows the oscillating or vibrating motion to gently disrupt plaque right where it accumulates. Don’t press the bristles flat against the tooth—keep that gentle tilt. If your brush has a pressure sensor, you’ll see a light or feel a vibration change if you bear down too hard. Let the brush do the work; your job is simply to hold the correct angle. For an even gentler yet more effective clean, consider the RANVOO AirJet X5, which uses revolutionary bubble cleaning technology—tiny microbubbles gently lift plaque without any harsh scrubbing, making you wonder why you ever needed oscillating heads. Its smart pressure feedback also protects gums while you glide tooth by tooth.
Step 4: Guide the Brush Slowly From Tooth to Tooth
This is the most important step. Unlike a manual toothbrush, you should not scrub or use back-and-forth sweeps. Instead:
- Start on the outer surfaces of one quadrant.
- Place the brush head on the first tooth. Hold it there for 2–3 seconds.
- Glide the brush to the next tooth, following the natural curve of your gums.
- Repeat on the inner surfaces, then the chewing surfaces.
- Don’t skip the back surfaces of the very last molars—tilt the brush vertically if needed to reach behind them.
“Simply guide the brush head slowly from tooth to tooth and allow it to follow the natural curve of your gums,” advises Oral-B’s electric toothbrush guide.
Step 5: Don’t Forget to Brush Your Tongue and the Roof of Your Mouth
Bacteria on your tongue contribute to bad breath and can re-colonize freshly cleaned teeth. After brushing your teeth, gently graze the brush head (or a dedicated tongue-cleaning mode) from back to front across your tongue and the roof of your mouth. A quick 10-second pass makes a noticeable difference in freshness.
Step 6: Rinse, Spit, and Clean Your Brush
- Spit out the excess toothpaste—but skip the water rinse if you want extra fluoride protection.
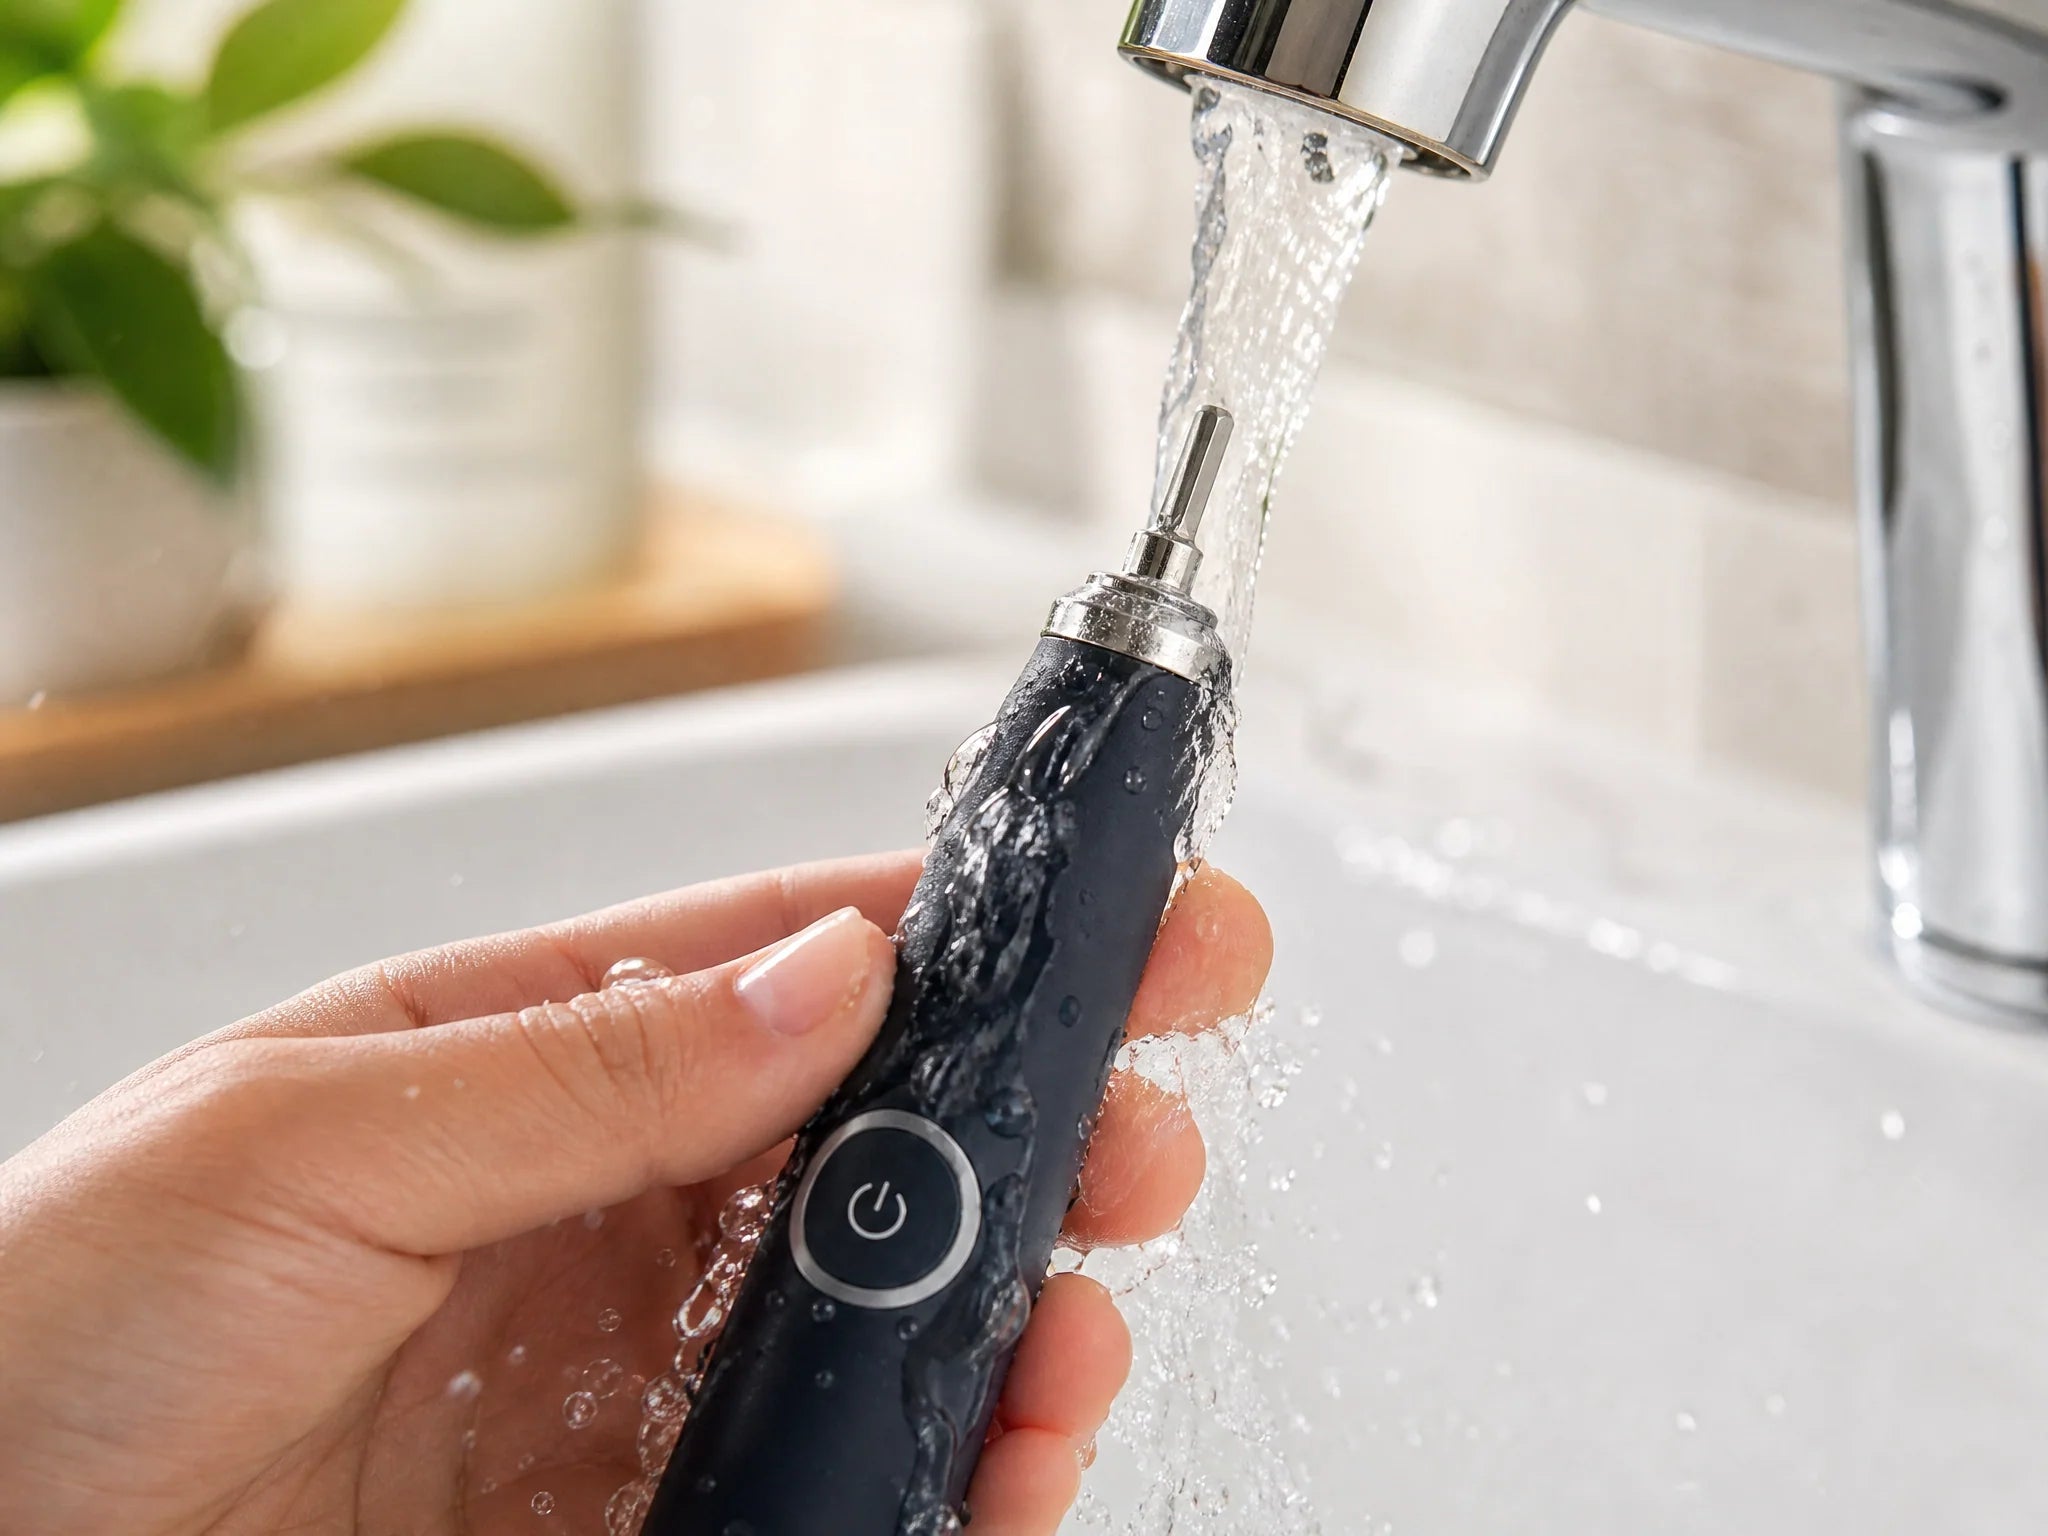
- Rinse the brush head under running water.
- Wipe the handle dry with a cloth.
- Store the brush upright and let it air-dry without touching other brush heads.
Where to Direct the Brush: Mastering Outer, Inner, and Chewing Surfaces
Different surfaces ask for slightly different hand and wrist motions. Use this approach for complete coverage:
| Surface | Angle / Tip | Common Mistake |
|---|---|---|
| Outer surfaces | Hold brush at 45° to gumline, move tooth by tooth along the cheek side. | Rushing past molars; not hugging the gumline. |
| Inner surfaces | Tilt the brush vertically for the back of the front teeth. Use small, precise glides. | Skipping the inner lower front teeth where plaque builds fast. |
| Chewing surfaces | Keep the brush head flat on top of the molars; let it rest and vibrate for a few seconds per tooth. | Using a sweeping motion instead of a patient pause. |
When and How Long Should You Brush? (The Timing Rules)
- Brush twice daily — once in the morning and once right before bed.
- Brush for a full 2 minutes. That’s the minimum recommended time to adequately disrupt plaque on all surfaces. Set a timer if your brush doesn’t have one.
- Use the built-in quadrant pacer. Most brushes pause or beep at 30 seconds, telling you to move to the next section.
- Replace the brush head every 3 months, or immediately if the bristles splay or the colored indicator bristles fade.
According to the American Dental Association’s guidance referenced by Oral-B, this combination of timing and systematic coverage is what keeps gums healthy and cavities at bay.
What Not to Do: Common Electric Toothbrush Mistakes to Avoid
| Mistake | Fix |
|---|---|
| Pressing too hard | Let the brush glide; use the pressure sensor (or hold the handle with fingertips only to reduce force). |
| Using a worn-out brush head | Replace every 3 months. Frayed bristles can’t reach between teeth and may scratch gums. |
| Skipping inner surfaces | Be deliberate: angle the brush vertically to clean the tongue-side of your front teeth. |
| Brushing too quickly | Pause on each tooth for 2–3 seconds. Rushing leaves plaque behind, particularly at the gumline. |
| Scrubbing back and forth | The brush oscillates; you just guide it. Scrubbing can cause gum recession and enamel wear over time. |
Mistakes like these are extremely common, according to a Wychwood Dental article citing user studies. Correcting them often improves gum health dramatically within weeks.
How to Clean and Maintain Your Electric Toothbrush
Daily:
- Rinse the brush head thoroughly after each use.
- Wipe the handle with a damp cloth; don’t submerge it.
Weekly:
- Remove the brush head and rinse the metal tip and the inside of the head connection to prevent grime buildup.
- Wipe the charging base with a dry cloth to avoid mold.
For travel:
- Use a ventilated travel case. Never seal a wet brush head in an airtight cap—that breeds bacteria. A Cypress Dental article notes that storing a damp brush in a closed container encourages bacterial growth.
Bathroom humidity poses a constant challenge: even with upright storage, brush heads often stay damp and invite mold. That’s why the RANVOO AirJet X5 comes with an innovative anti-mold wall mount that actively promotes airflow around the brush head, keeping it dry and hygienic between uses—so you never have to worry about hidden bacterial growth on your toothbrush again.
How Do You Know You’re Using It Correctly?
Your mouth will tell you. When you’ve nailed the technique, you’ll notice:
- Teeth feel smooth when you run your tongue over them—no fuzzy film.
- Gums don’t bleed during brushing or flossing.
- Fresh breath lasts longer.
- Your dental checkups show less tartar buildup and improved gum pocket depths.
If you’re still unsure, ask your dentist or hygienist to watch your technique at your next visit. They can spot tiny adjustments that take your brushing from good to excellent.
