






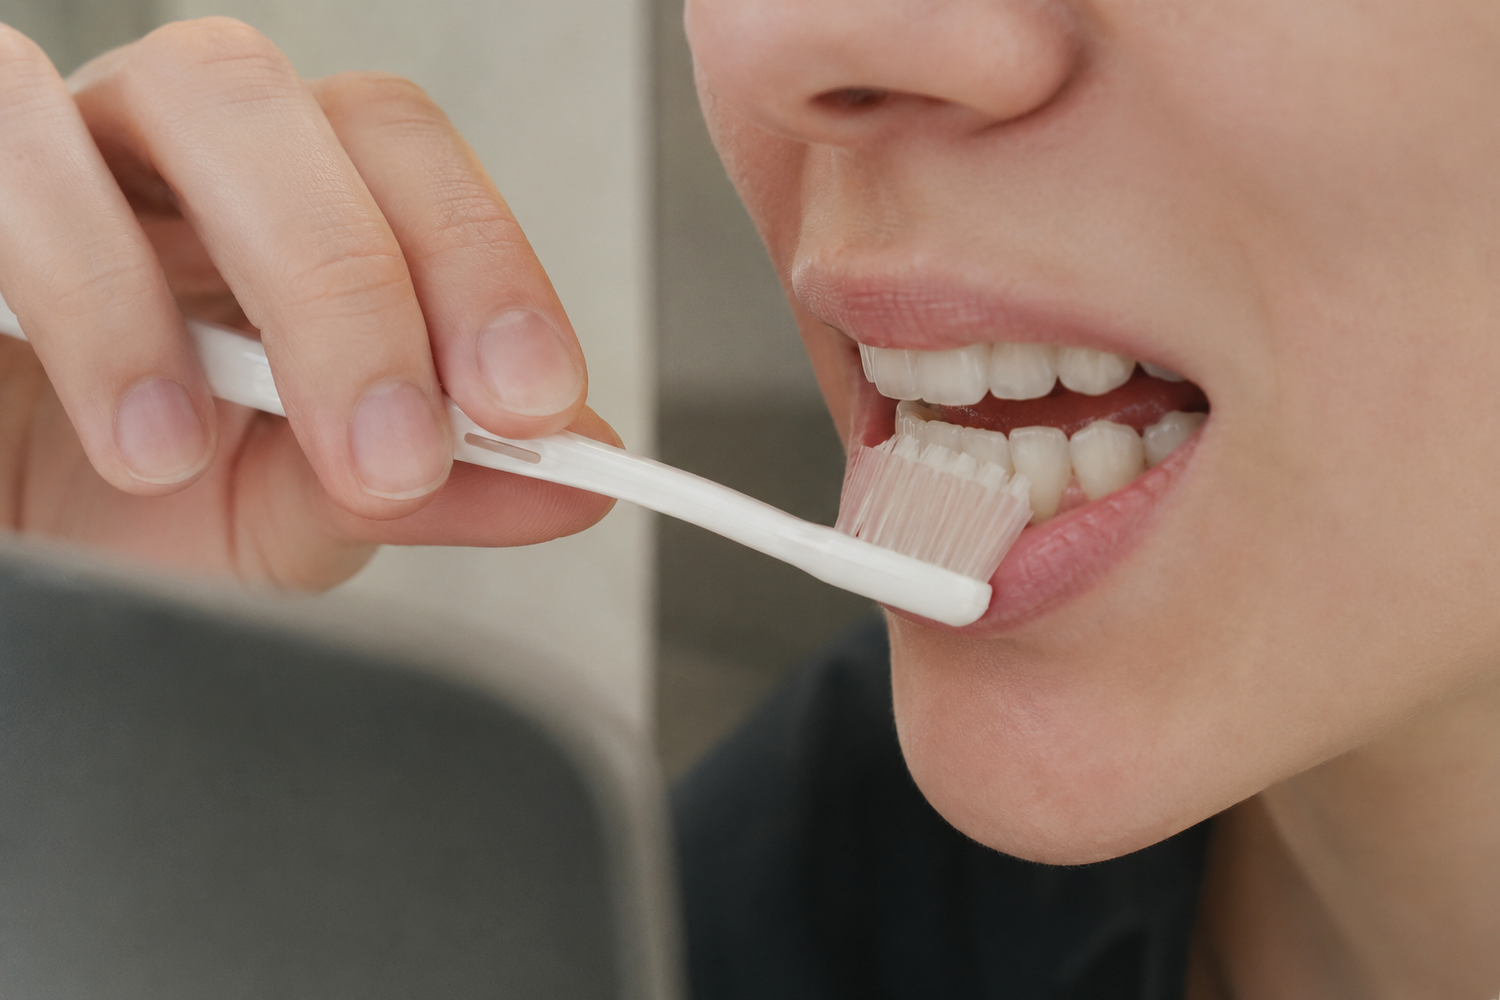
Keeping your mouth clean after wisdom tooth surgery is crucial for healing, but the wrong technique can dislodge the protective blood clot and lead to a painful dry socket. The key is gentle, targeted brushing combined with salt water rinses — and a lot of patience. This guide walks you through exactly what to do each day, from the first 24 hours to full recovery.
It’s completely normal to feel nervous about brushing your teeth after having wisdom teeth removed. You’re worried about hurting the tender surgical sites or causing complications like dry socket (alveolar osteitis). The good news? A careful plan lets you keep your mouth clean without disrupting healing.
A prospective study of 50 patients found that those who brushed less frequently after extraction experienced more pain in the first week. Gentle, consistent oral care isn’t just safe — it actually supports your recovery.

When to Start Brushing
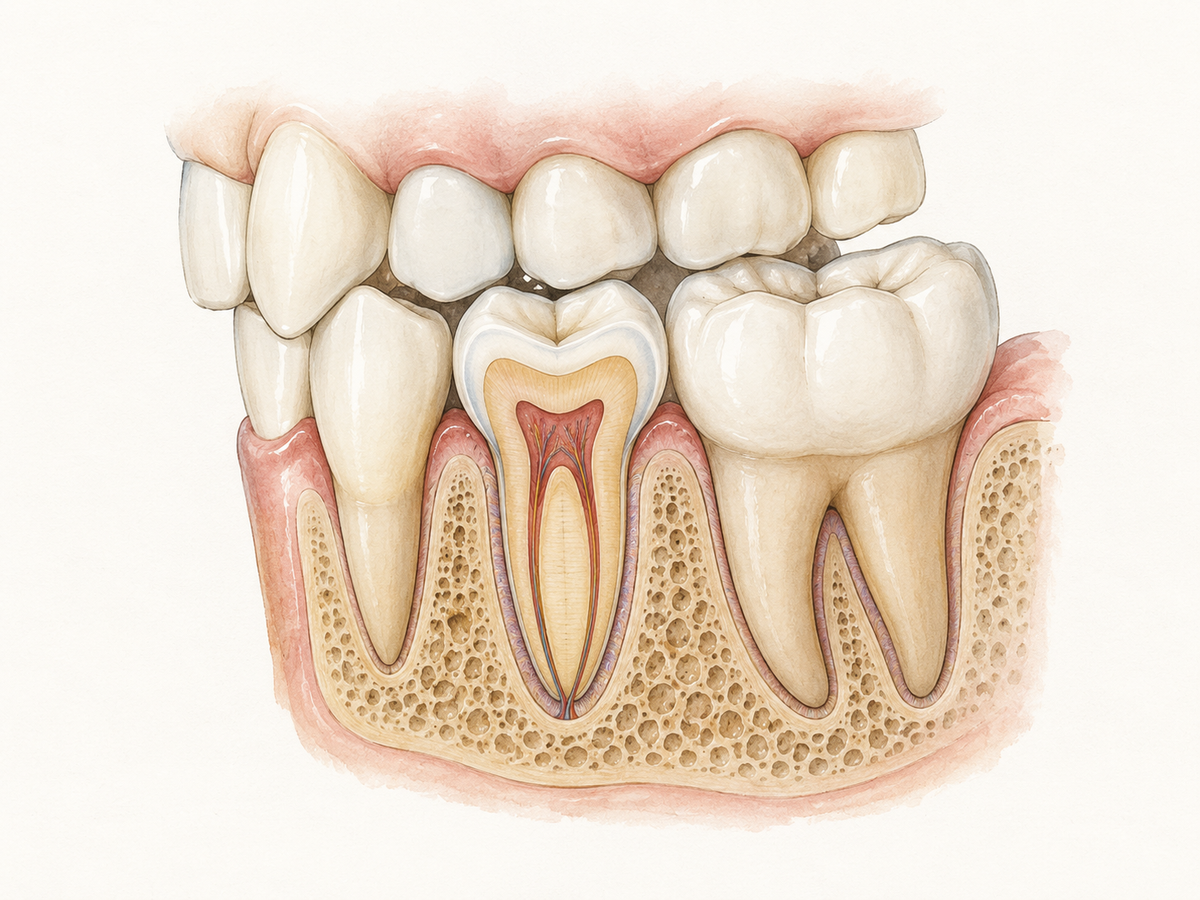
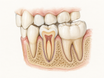
The first 24 hours are sacred. During this time, a blood clot forms in the extraction socket to protect the underlying bone and nerves. Do not brush, rinse vigorously, or spit on the day of surgery. These actions can dislodge the clot and expose the bone, setting the stage for dry socket — a painful condition that delays healing.
On day 2, you can usually begin gentle brushing, but only on teeth far from the surgical sites. Avoid the molars directly adjacent to the extraction sockets entirely. If your dentist gave you specific timing (sometimes waiting 48 hours for complicated extractions), follow that advice. Waiting too long isn’t beneficial either — plaque buildup can increase inflammation and discomfort during the healing timeline.
Tools You’ll Need

Your toolkit for the first week should be simple and non-irritating:
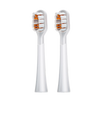
- Extra-soft manual toothbrush — ideally with a small head. A randomized controlled clinical trial on patients after wisdom tooth surgery showed that toothbrushes with conical (tapered) filaments caused significantly fewer abrasions on healing gums than standard rounded-filament brushes. This reinforces why an ultrasoft brush is your best friend right now.
- Warm salt water (½ teaspoon salt in a cup of warm water) — the only rinse you need for the first few days.
- Alcohol-free mouthwash — if your surgeon prescribes a chlorhexidine rinse, use it exactly as directed. A Cochrane review demonstrated that chlorhexidine mouthrinse (0.12% or 0.2%) used before and after extraction can prevent about 42% of dry socket cases.
Steer clear of standard electric toothbrushes during the early healing phase — the vibration can irritate the wound. Also avoid any mouthwash that contains alcohol, which stings and can disrupt clot formation. Harsh chemicals like hydrogen peroxide aren’t necessary unless specifically included in a prescription product.
Brushing Technique

Precision matters more than power right now. Follow these steps:
- Use a mirror and good lighting so you can see exactly where your brush goes.
- Start with your front teeth, slowly working your way toward the premolars. Stop at least one tooth short of the extraction sites.
- Use tiny circular motions with the lightest pressure imaginable — think of polishing a fragile piece of china, not scrubbing.
- Keep your mouth relaxed and open just enough to access the teeth; don’t stretch lips that might tug on sutures.
- Let toothpaste foam and saliva passively wash over the surgical pockets. You don’t need to actively clean them — this passive flow removes debris naturally.
If you’re dealing with limited mouth opening (trismus) due to swelling, tilt the brush at an angle or switch to a child-size brush for better maneuverability. The goal is to clean what you can reach without coming close to the wound.
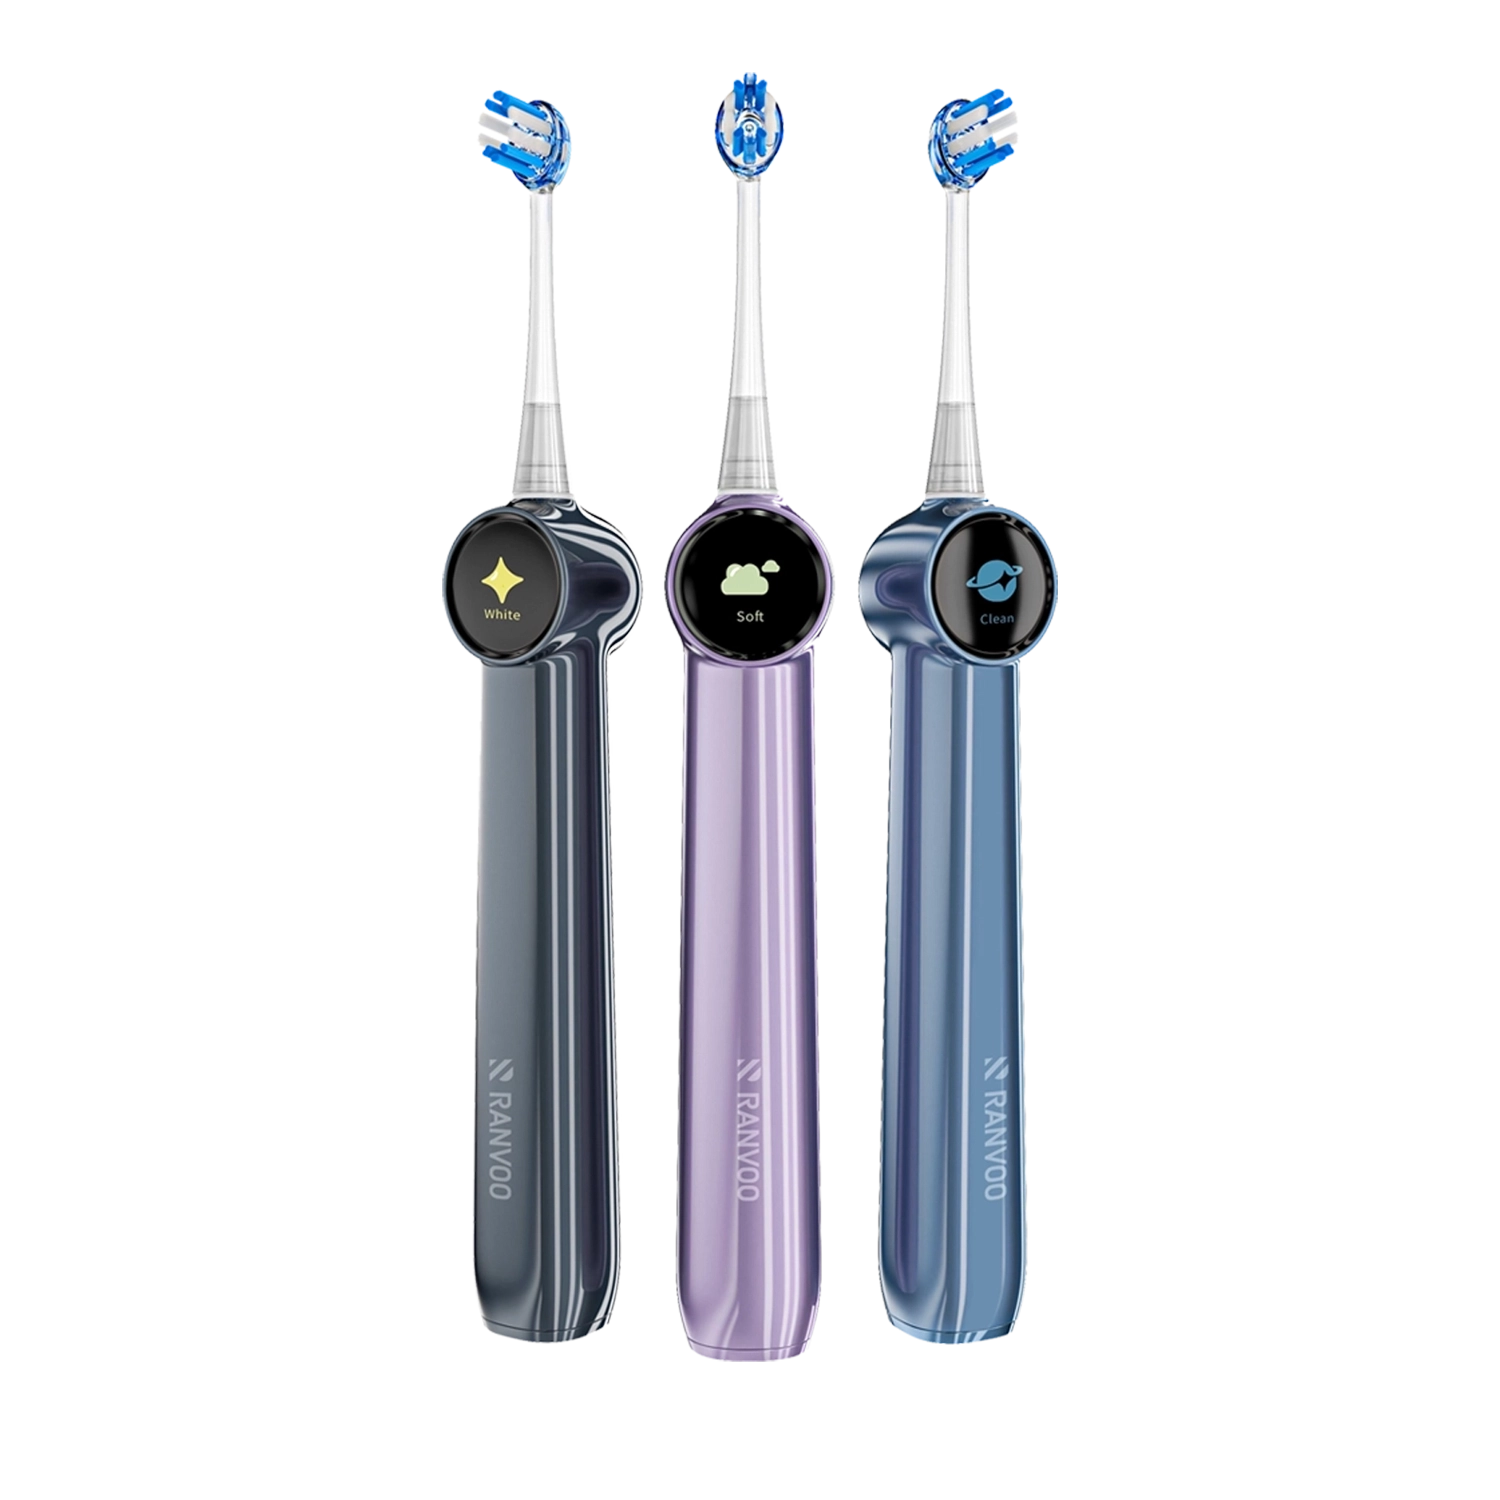
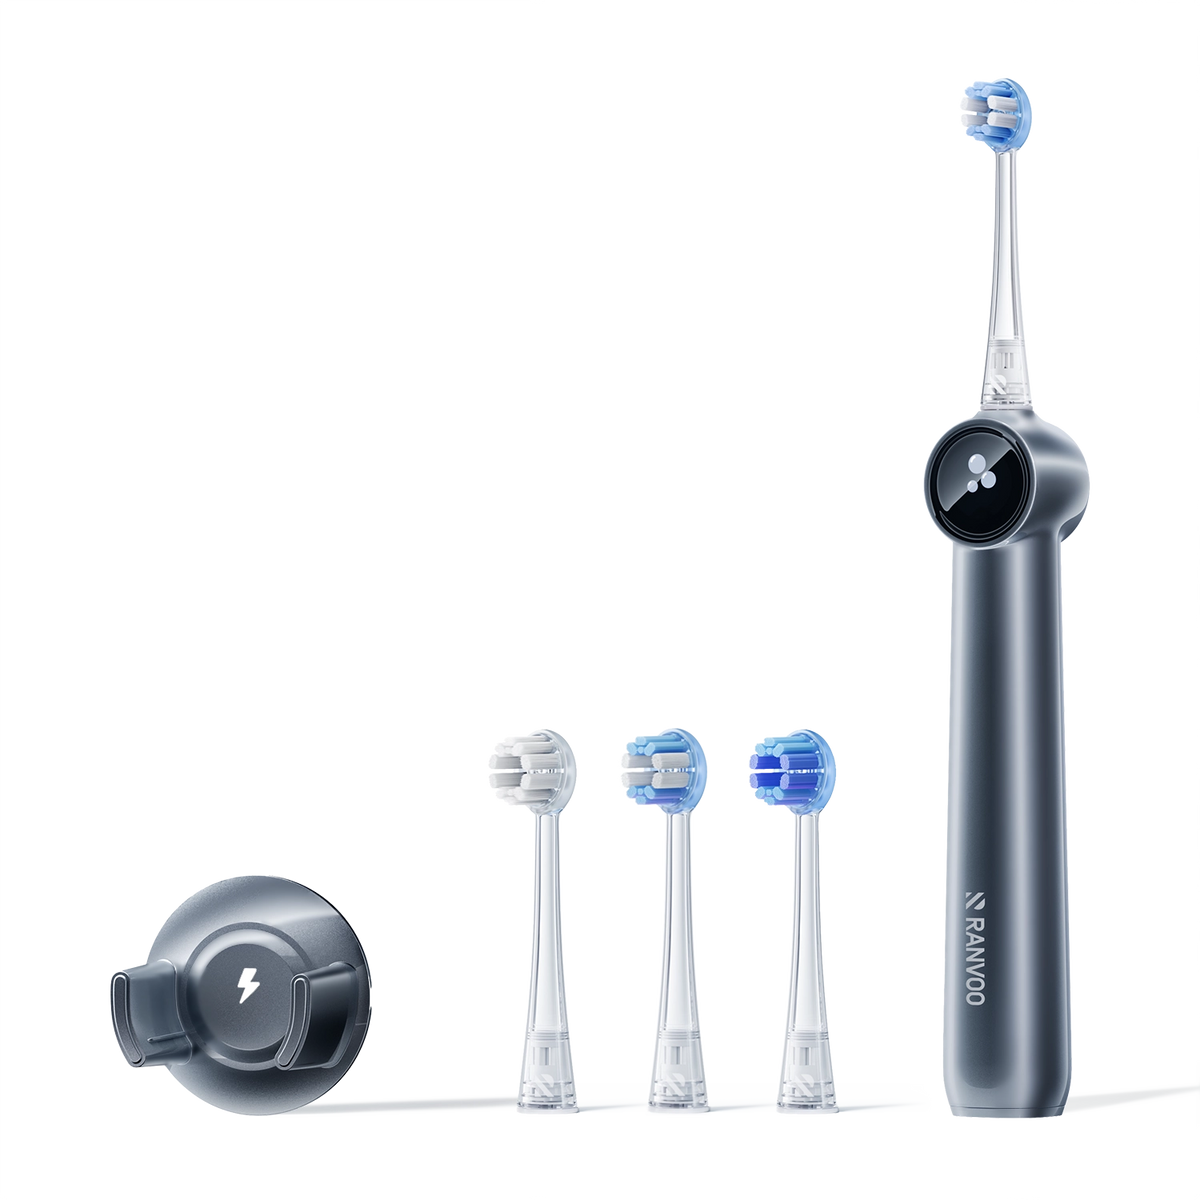
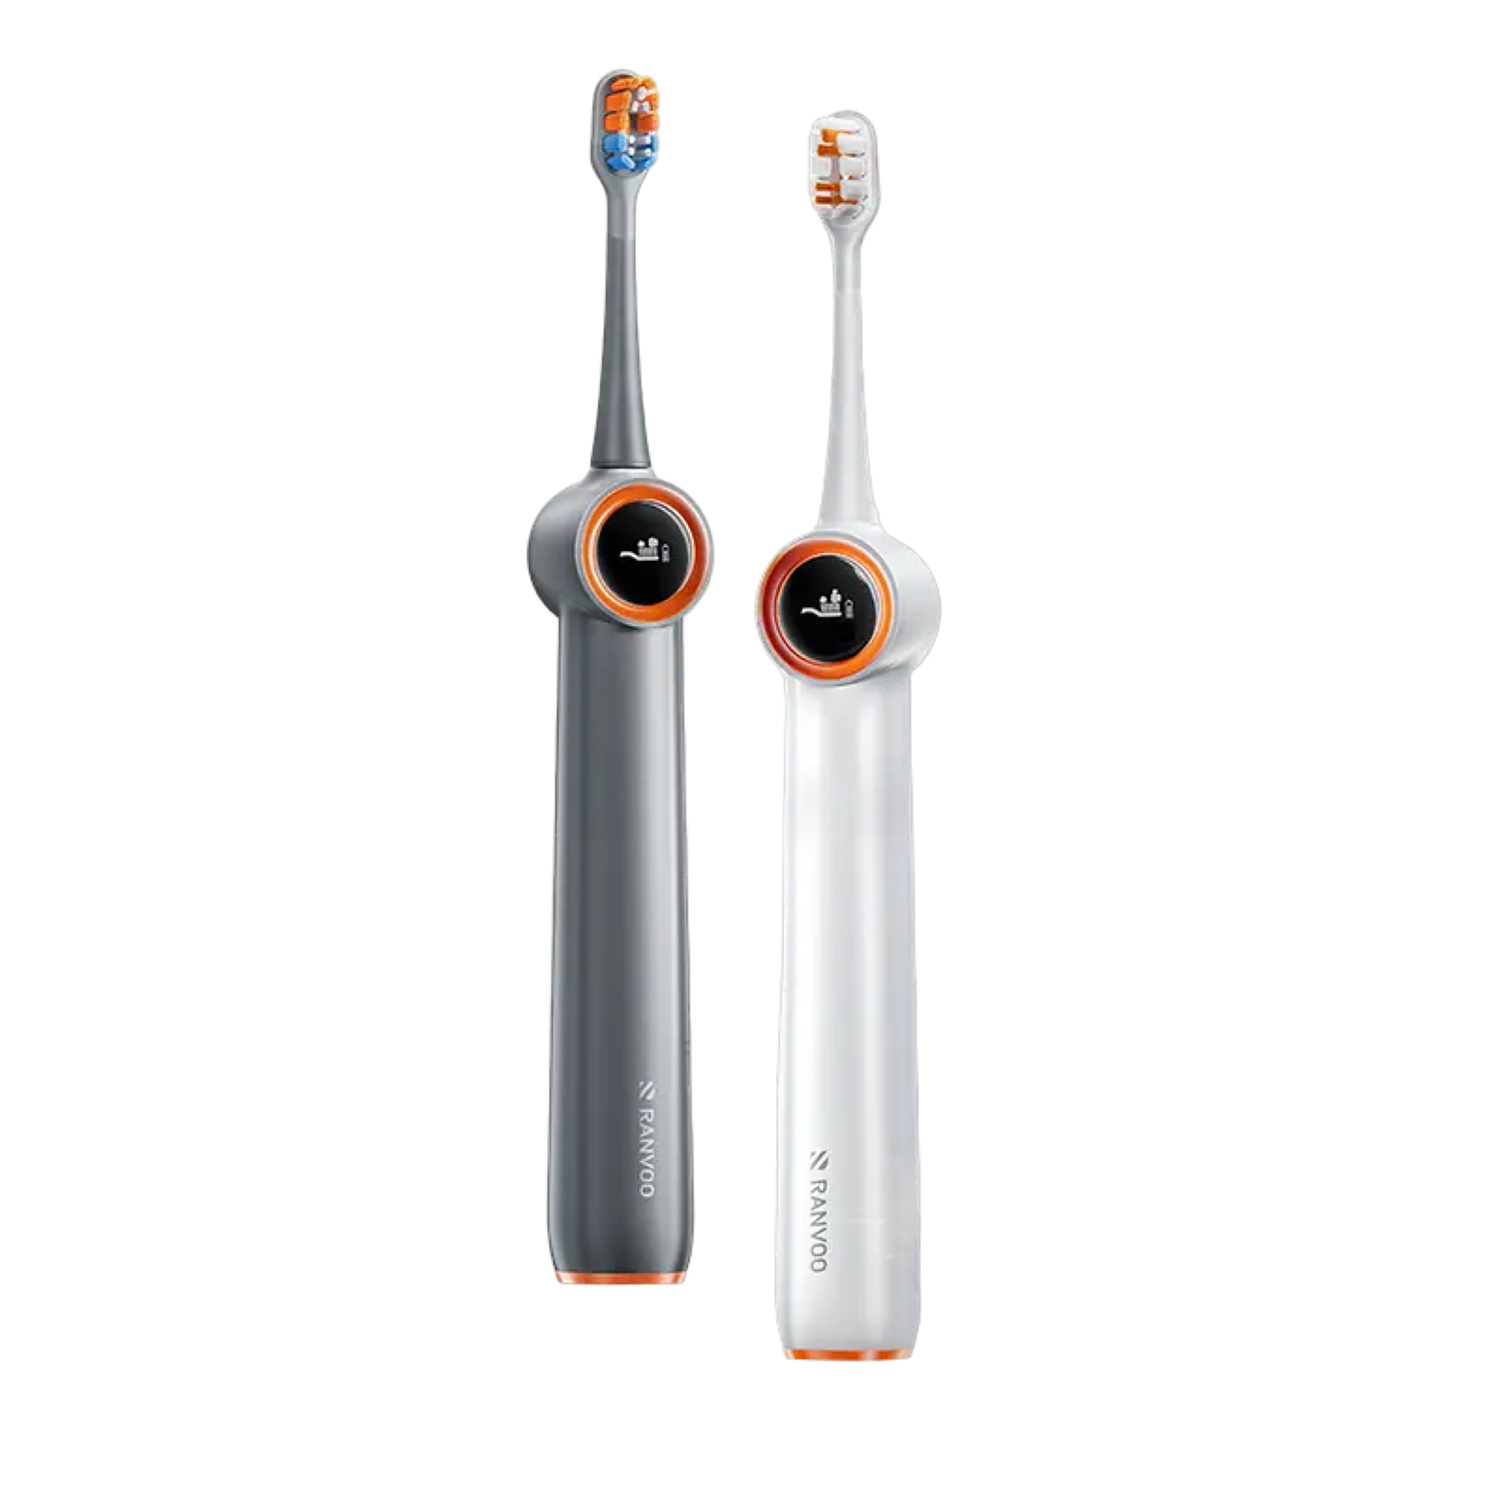
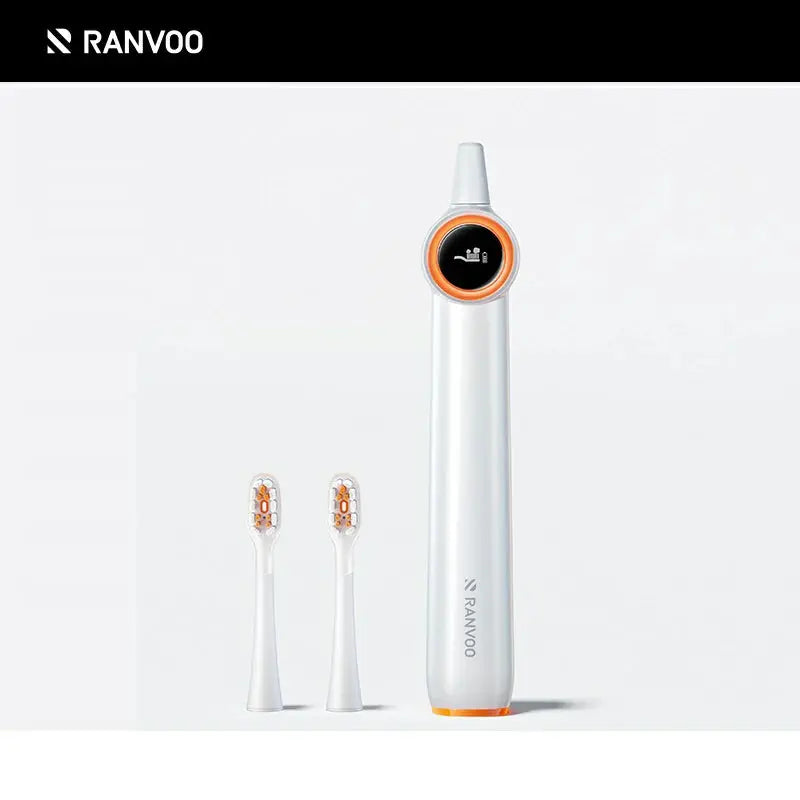
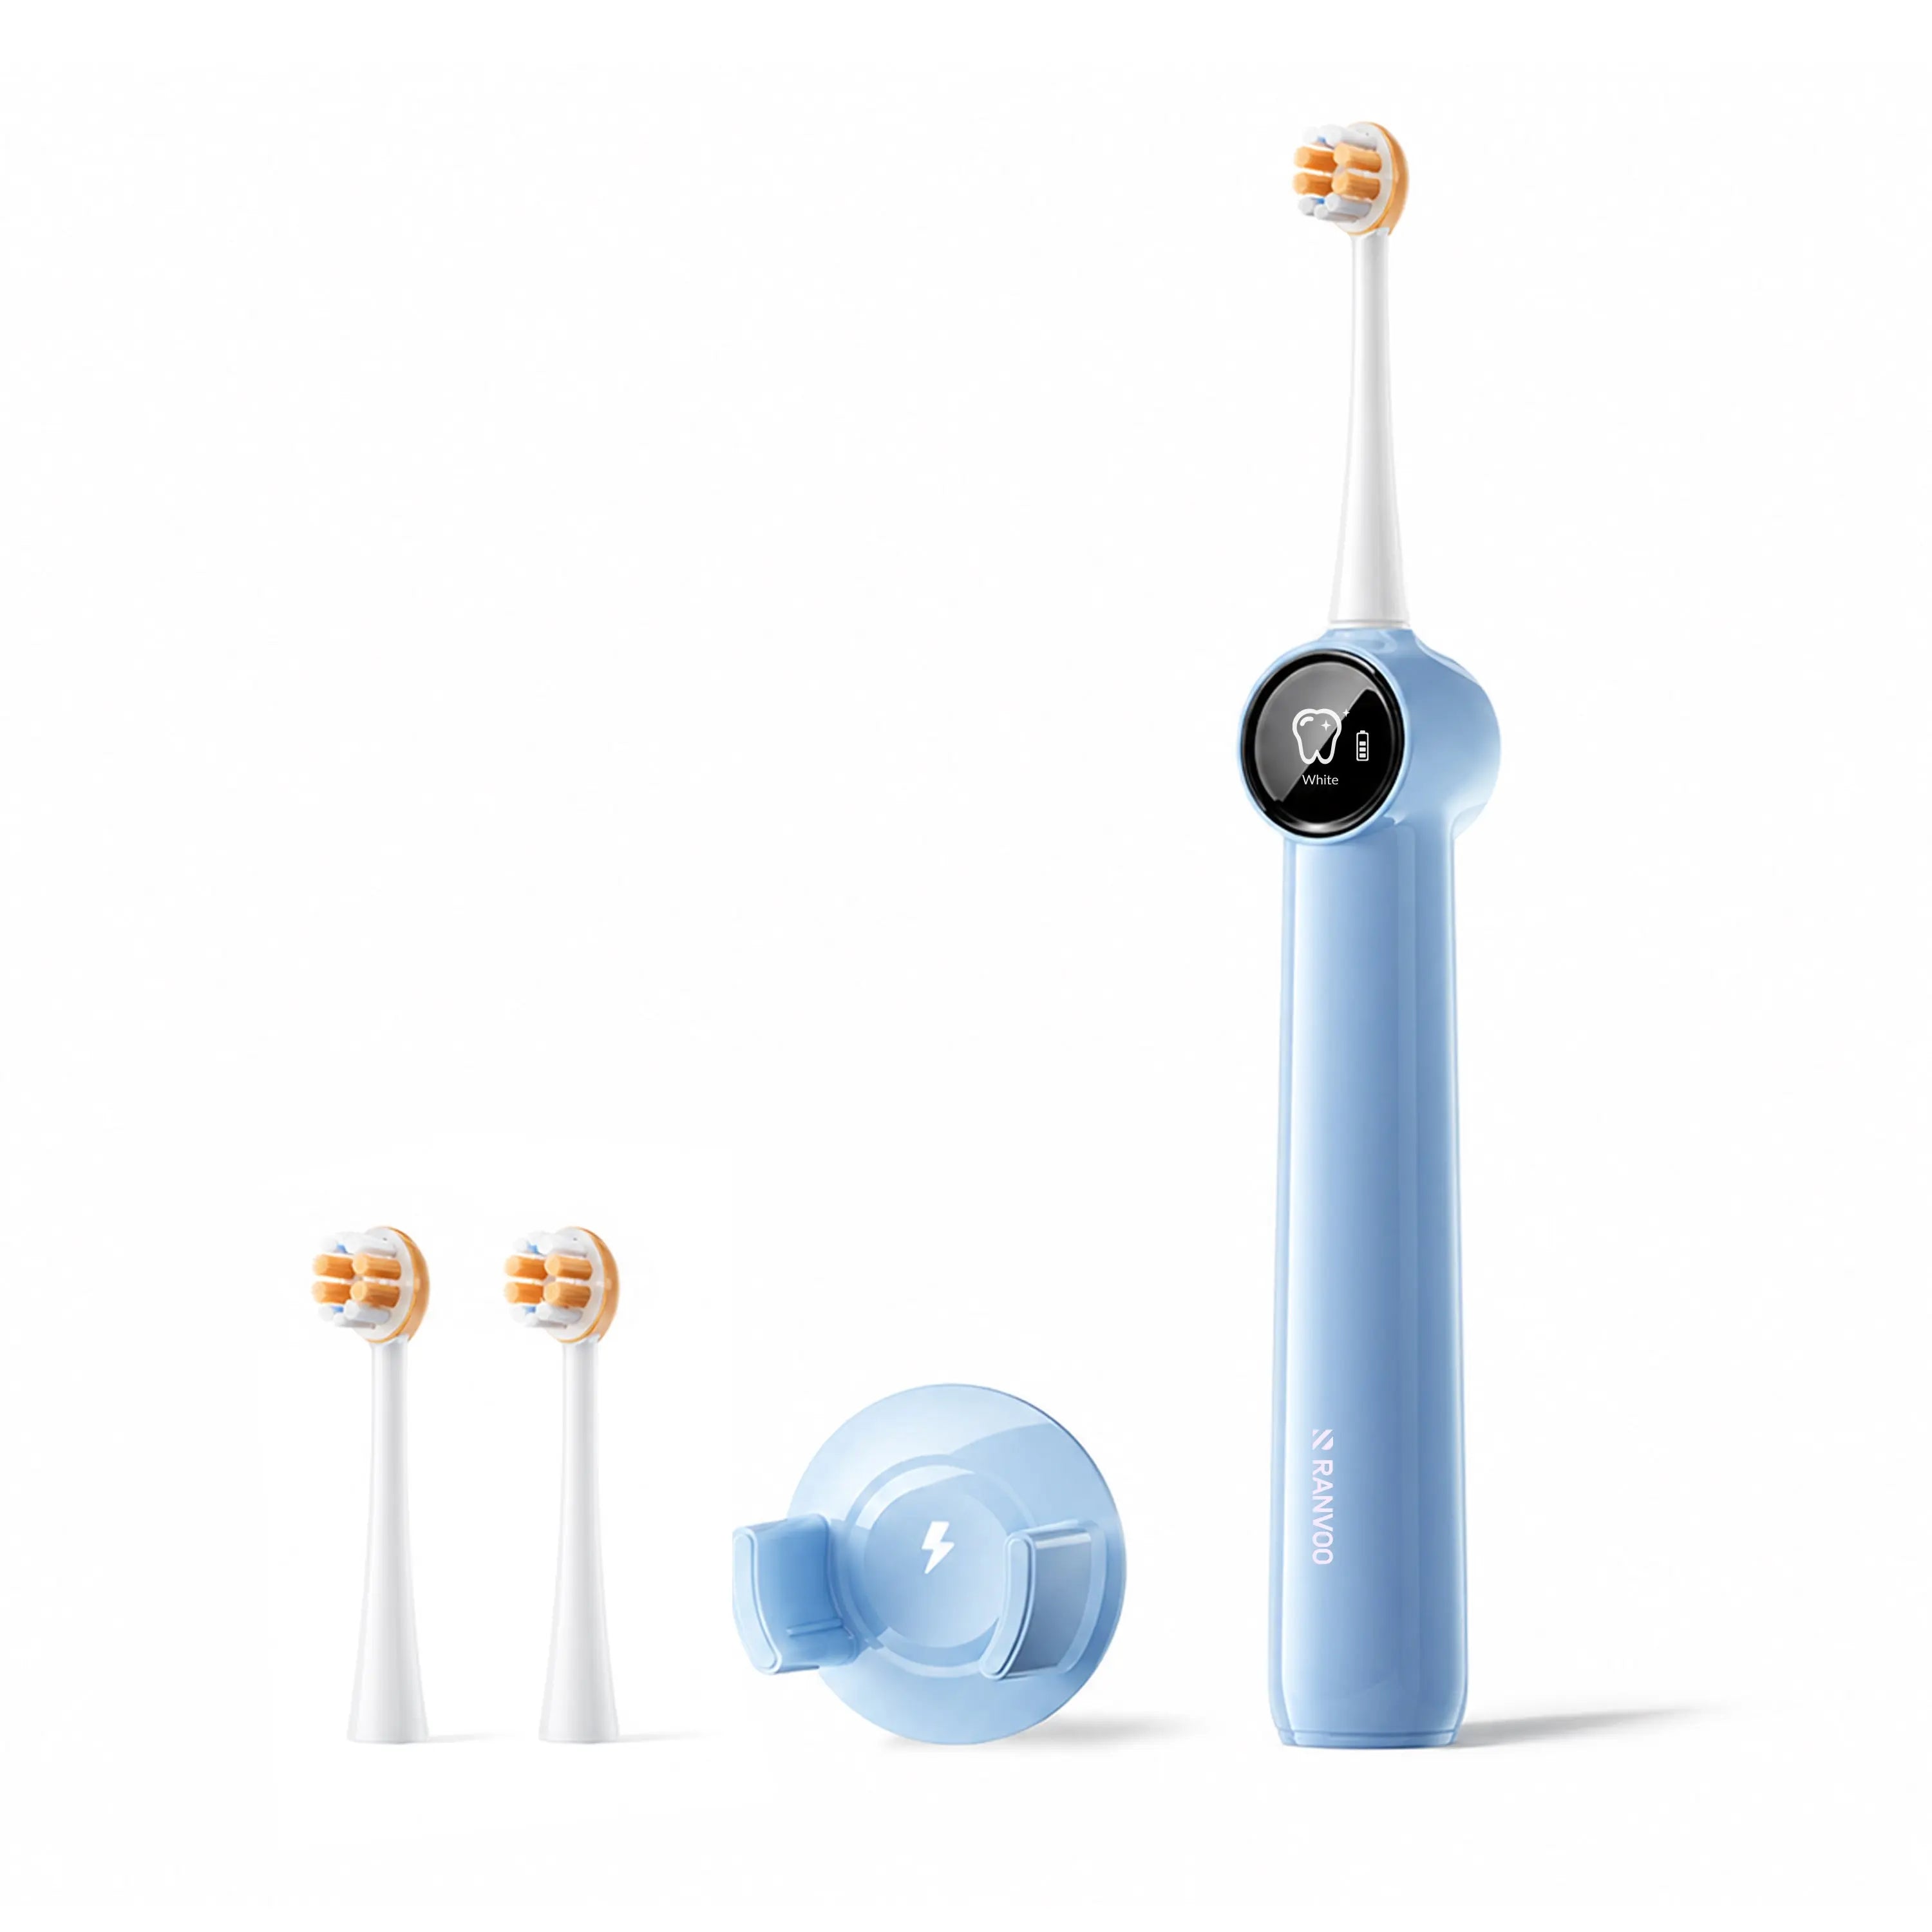
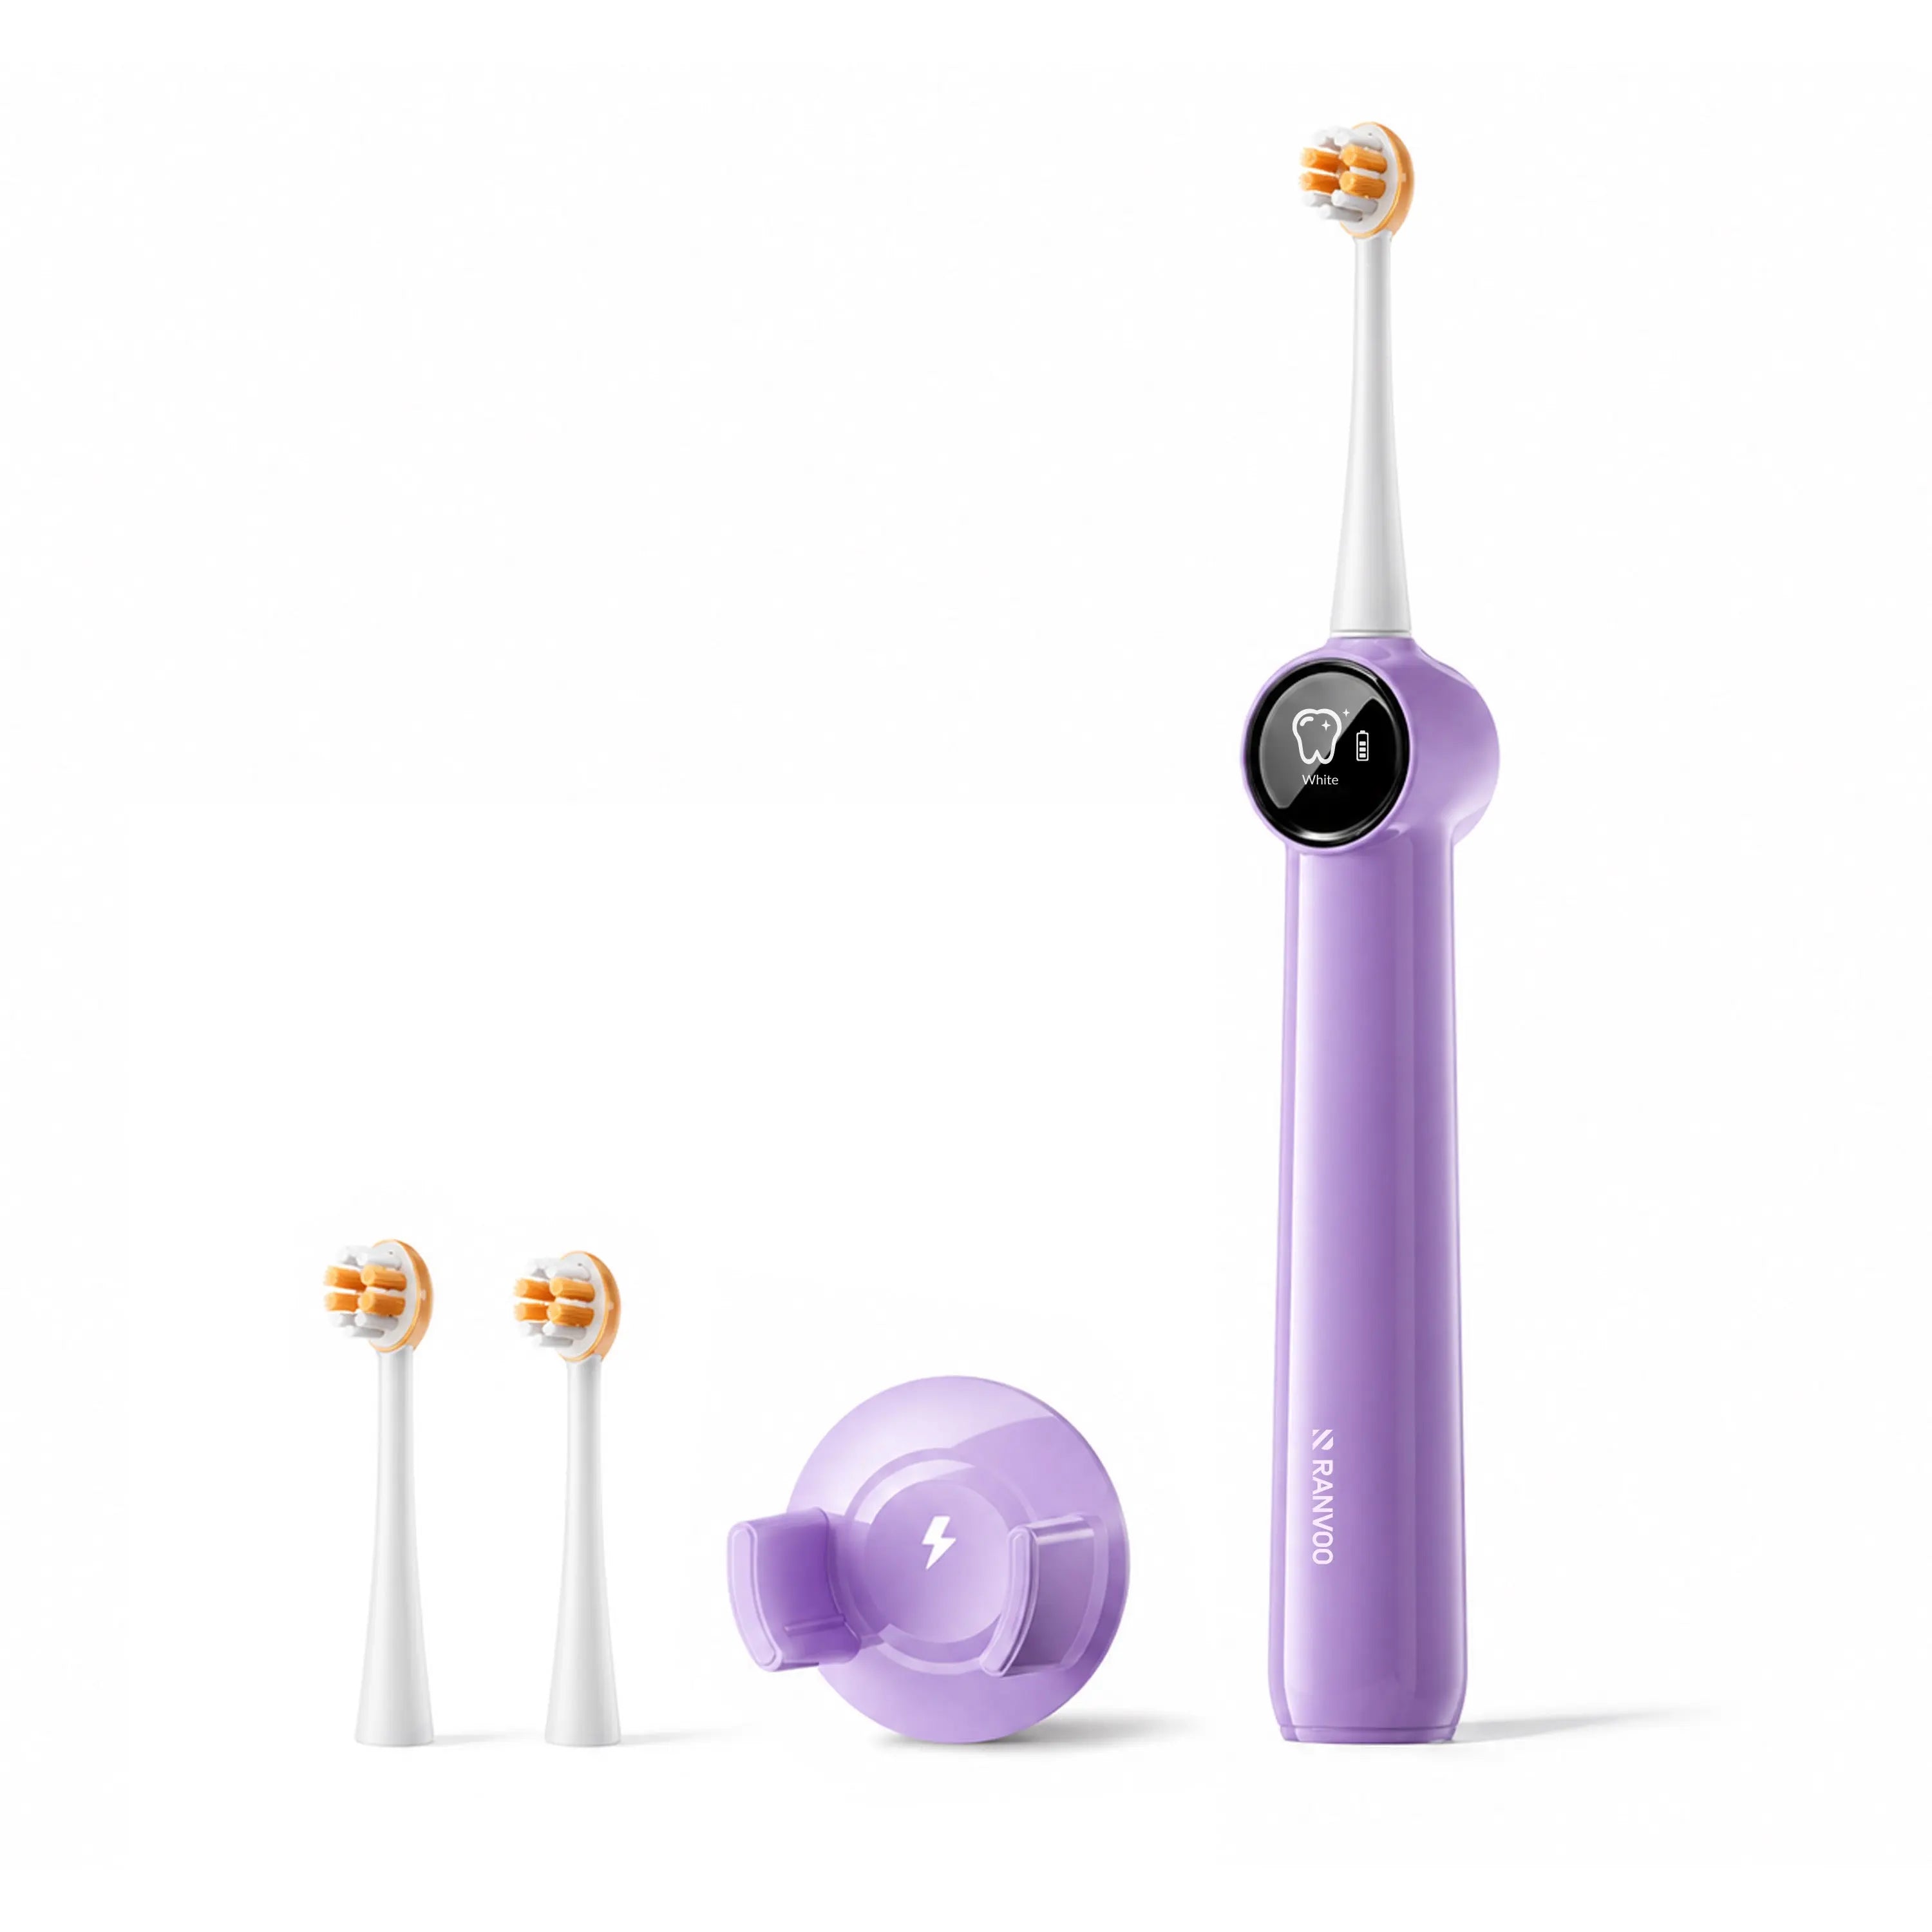
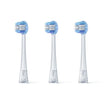
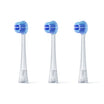
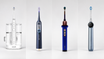
Once the initial healing progresses and your socket begins to close, an electric toothbrush with gentle sonic vibrations can make it easier to clean near the site with minimal manual pressure. The swift, controlled motion of a sonic electric toothbrush removes plaque while helping you avoid bearing down on tender tissue, which is especially useful when your jaw is still a little stiff.
Rinsing Safely

After brushing (or after meals), you’ll want to flush away remaining debris, but never with force. Here’s the safe method:
- Take a sip of lukewarm salt water — not hot, not cold.
- Gently tilt your head from side to side, letting the liquid migrate around your mouth.
- Let the water dribble out into the sink. Do not spit. Spitting creates suction that can pull the clot out.
- Repeat as needed after every meal, especially if you feel food particles near the socket.
If your surgeon provided an irrigation syringe, they’ll tell you when to start using it — usually around day 5 to 7. This tool delivers a gentle stream of warm salt water directly into the lower extraction sockets to dislodge trapped food. Always use the softest pressure possible.
Common Mistakes
Even well-meaning patients can unknowingly sabotage their healing. The biggest risks:
- Using a straw — the sucking motion is a direct invitation for dry socket. Avoid all straws for at least a week.
- Spitting forcefully — like using a straw, it creates negative pressure. Let everything dribble out.
- Brushing the extraction site directly — no matter how “clean” you want to be, the socket must not be touched with a brush for several days.
- Rinsing with alcohol-containing mouthwash — the burn signals chemical irritation that can delay wound closure and dissolve the fragile clot.
Each of these mistakes disrupts the protective clot, leading to exposed bone, intense throbbing pain, and a healing delay that can add days to your recovery.
Signs of Trouble

Knowing what’s normal and what’s not puts you in control. Call your surgeon or dentist immediately if you notice any of these warning signs:
- Intense, worsening pain that starts 2–4 days after surgery and isn’t relieved by prescribed medication — this is the hallmark of dry socket.
- A persistent foul taste or odor that doesn’t go away after gentle rinsing, which may indicate trapped debris or infection.
- Visible loss of the blood clot — you might see an empty-looking white or gray socket instead of a dark red plug.
- Pus, fever, or swelling that increases after day 3 rather than subsiding.
These aren’t meant to scare you — they’re your safety net. Early intervention prevents a minor setback from turning into a major one.
Final Tips

Remember: in the first week, gentle care trumps aggressive cleaning every single time. Your mouth doesn’t need to be spotless — it needs to heal.
An irrigation syringe (when your surgeon gives the green light) and a soft manual brush will handle the bulk of hygiene. As the soft tissue closes and tenderness fades, gradually ease back into your normal routine.
A little patience now protects that delicate blood clot and gets you back to full brushing — and pain-free eating — far sooner than rushing the process ever could. You’ve got this.
This article has been reviewed by an oral health professional for accuracy. It is intended to provide general educational information and should not be used as a substitute for personalized medical advice, diagnosis, or treatment. If you have questions or concerns about your oral health, please consult a dentist, physician, or other qualified healthcare provider.